


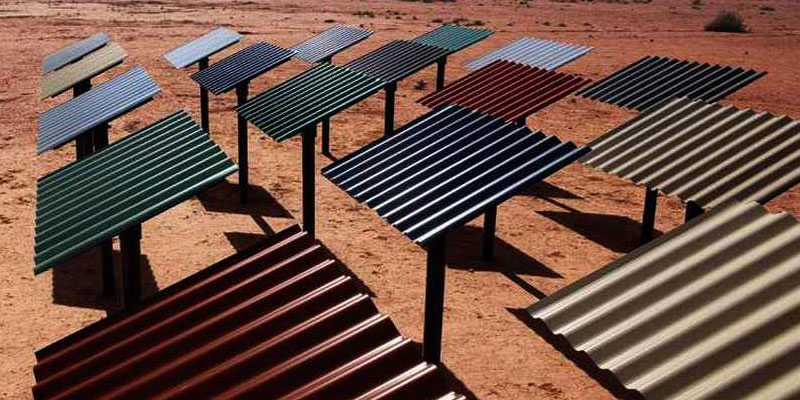
Most metal roofs in Australia are made of steel, or some variation with different coatings to reduce heat absorption. Metal roofs usually come with a long warranty and are often chosen because of their affordability.
Metal roofs need to be installed according to the Australian Standard AS 1562 – ‘Design & Installation Of Metal Roofing’. Metal roofs are less complicated to install than tile roofs. Typically speaking, metal roofs won’t take more than a day or two to put on.
Step 1 – Setting Up The Site
First things first, the fascias and guttering go up and the roofing materials are delivered. Following this horizontal battens are installed onto the trusses to support the roof cladding.
Normally, a layer of sarking (reflective foil laminate, or RFL) is then put in place. Although this isn’t strictly compulsory in all cases, sarking’s generally considered to be very important for metal roofs to help prevent condensation.
Step 2 – Putting On Metal Roofing Sheets
Metal roofing sheets are light. This makes the handling process much easier than tiles. Depending on the building location and height, metal roofing sheets are usually passed up to the roof one by one by hand. They’re then laid in place and are carefully marked and cut for hips and valleys by running a chalk line across them to get the shape right.
At Metal Deck we are metal roofing installation experts and use special tools to cut the metal roofing sheets to prevent burred edges which can lead to rusting. Metal Sheets must be carefully lapped over each other in the direction least likely to expose the joins to the worst anticipated or prevailing weather. Metal roofs are normally installed starting from the ‘leeward’ side rather than the ‘windward’ side.
Step 3 – Attaching The Roofing Sheets
The edges of the roofing sheets are normally pre-shaped to prevent condensation. With over 20 years experience, you can trust Metal Deck to ensure that the roofing sheets align perfectly at the gutter end of the roof.
Metal sheets should normally be drilled and screwed down on the ‘crests’ of the corrugations in the sheet rather than the valley although there are some exceptions. Some sheets also use concealed fixings which don’t require holes to be drilled.
Once the sheets are on, the ‘valleys’ at the top end of the sheets up at the ridge of the roof are bent upwards. This is to reduce the chance of water being blown up through the top of the sheets and to reduce the chance that pesky vermin will sneak in through the gaps. Pieces of metal called cappings are then installed across the ridge of the roof, across roof hips, at fascias etc.
Step 4 – Getting Rid Of Swarf
After the roof is finished, the roof needs to be cleaned off using a broom or a high-powered leaf blower. Tiny offcuts of metal (called swarf) can cause a brand new roof to rust and spoil very quickly if they aren’t removed.
If you are having altercations made to your existing metal roofing, this is also very important! Say that you are adding a skylight, or exhaust vents, then you need to ensure that all swarf and debris needs to be properly removed to prevent damage.
And there you have it! A neat summary of how we install metal roofs! We supply trusted Australian brands Roofing Materials like Colorbond® to ensure that you get the highest quality metal roof possible.
Metal Deck are based in Kirrawee and have installed and supplied metal roofing materials to the Sutherland Shire and Greater Sydney region for years. You can trust our expertise to help you find the best product that your home or business requires.
If you’ve got any questions don’t hesitate to give us a call!
For Metal Roofing Installation Services Call: (02) 9545 6100
For Metal Roofing Supplys Services Call: (02) 9545 4800